Back to blog
Tutorial, Digital Inputs, Monitoring, Technical, Hardware, Sensors, Telematics
ES • EN • PT
Digital Inputs: Monitoring External Signals
Digital inputs allow you to monitor external signals and events in your telematics system. This guide covers their functionality and applications.
What Are Digital Inputs?
Digital inputs detect the state (ON/OFF, HIGH/LOW) of external signals:
- Door sensors: Open/closed detection
- PTO status: Power take-off engagement
- Panic buttons: Emergency alerts
- Limit switches: Position detection
How They Work
Detection Types
| Type | Trigger Condition |
|---|---|
| Positive trigger | Voltage applied (typically 12V) |
| Negative trigger | Ground connection |
| Pulse counting | State changes counted |
Signal Characteristics
- Voltage range: 0-30V DC typical
- Debounce: Filters noise/bounce
- Sampling rate: How often state is checked
Common Applications
Door/Trunk Monitoring
Track when compartments open:
- Use case: Delivery verification, security
- Connection: Door switch or contact sensor
- Alert: When door opens in geofence
PTO (Power Take-Off) Status
Monitor auxiliary equipment:
- Use case: Concrete mixers, dump trucks, cranes
- Connection: PTO engagement signal
- Report: PTO operating hours
Panic/SOS Button
Emergency alerts:
- Use case: Driver safety, robbery alert
- Connection: Hidden button in cab
- Response: Immediate notification
Seatbelt Detection
Safety compliance:
- Use case: Driver safety programs
- Connection: Seatbelt buckle sensor
- Alert: Driving without seatbelt
Trailer Connection
Detect trailer attachment:
- Use case: Fleet asset tracking
- Connection: Trailer plug or sensor
- Report: Trailer usage time
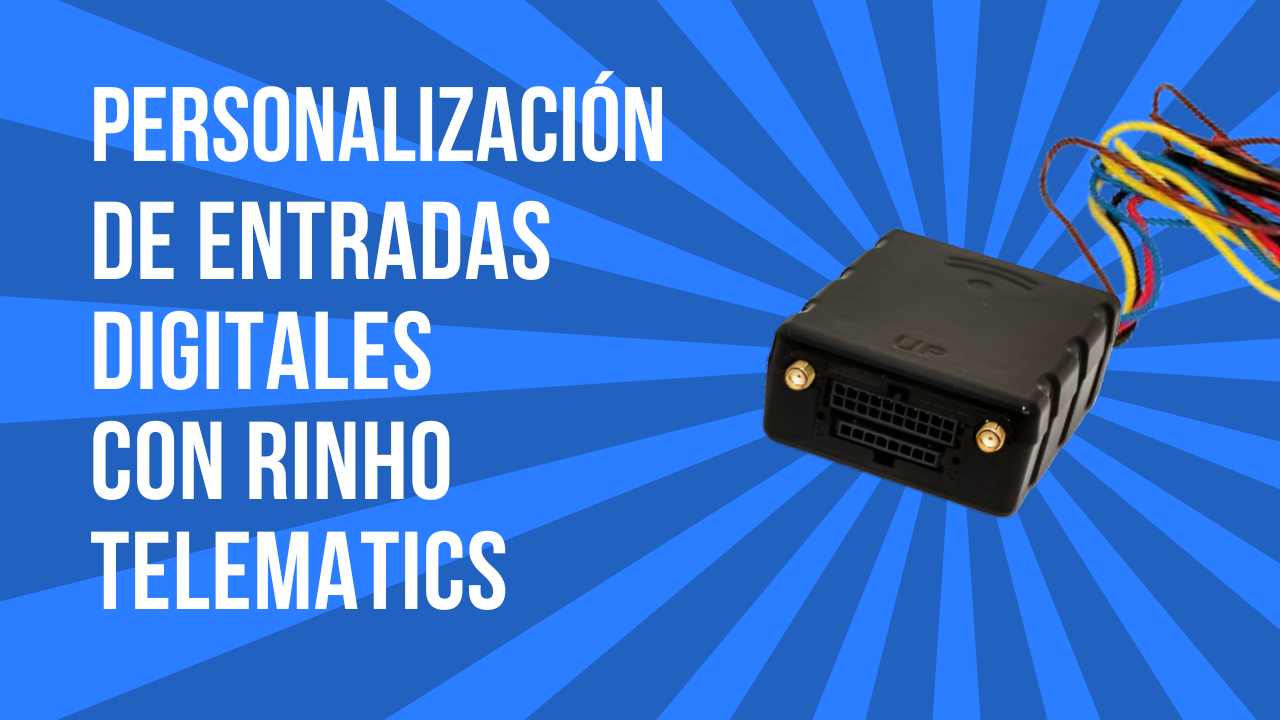
Rinho Device Inputs
Spider IoT
- 1-2 digital inputs
- Configurable trigger
- Event logging
- Pulse counting option
Smart IoT
- 4+ digital inputs
- Multiple trigger modes
- Advanced filtering
- Analog option available
Installation Guide
Planning
- Identify what you need to monitor
- Locate signal source in vehicle
- Determine trigger type needed
- Plan wire routing
Connection Types
Positive Trigger (Voltage Sensing)
Signal source (+12V when active) → Input terminal
Device ground → Vehicle ground
Negative Trigger (Ground Sensing)
Input terminal → Switch → Vehicle ground
(Input has internal pull-up)
Wiring Tips
- Use appropriate gauge wire
- Protect connections from moisture
- Secure wiring away from moving parts
- Use proper connectors
Platform Configuration
Basic Setup
- Enable the digital input
- Name it descriptively (e.g., "Rear Door")
- Set trigger type (positive/negative)
- Configure debounce time
Event Configuration
Define what happens when input changes:
- Send immediate alert
- Log event with timestamp
- Trigger other actions
- Generate reports
Example Configurations
| Application | Trigger | Debounce | Alert |
|---|---|---|---|
| Door sensor | Negative | 500ms | Yes |
| PTO | Positive | 2s | No (log only) |
| Panic button | Negative | 100ms | Yes (priority) |
| Seatbelt | Positive | 3s | Conditional |
Advanced Uses
Conditional Logic
Combine inputs with other data:
- Door open + ignition off = Alert
- PTO on + movement = Safety alert
- Panic button + location = Emergency response
Reporting
Generate reports on:
- Input activation frequency
- Duration in each state
- Correlation with other events
- Historical trends
Troubleshooting
| Issue | Possible Cause | Solution |
|---|---|---|
| No detection | Wrong trigger type | Check configuration |
| False triggers | Electrical noise | Increase debounce |
| Intermittent | Loose connection | Secure wiring |
| Inverted state | Polarity error | Swap trigger type |
Best Practices
- Label all wires: Document connections
- Test before deployment: Verify operation
- Use debounce: Prevent false alerts
- Monitor regularly: Check for issues
Conclusion
Digital inputs expand your monitoring capabilities significantly. Rinho devices offer flexible input options for various applications.
Need help configuring inputs? Contact us.